Study Sharing
The Study Sharing feature allows you to provide access to other users, with differing levels of access between them.
Sharing a Study
1. Select the Study
After logging into Q Method Software, click on the title of the study in the Study List interface. This brings you to the Study Dashboard and populates the study's sub-navigation.
2. Go to the Study Sharing section
On the study sub-navigation menu, click Study Sharing to go to the Study Sharing management interface.
3. Enter the invitee’s email address and select an access level
In the text box, enter in the email address of the person you would like to grant access to, and select the access level you would like to grant them. You can invite more than one person at a time using the + button on the right side of the interface.
Viewer: Grants access to view the study. They are able to see every page, except for the Study Sharing page, but are unable to make any changes to the study.
Editor: Grants access to change the study. The user will be able to make changes to the study settings, the statements, the surveys, etc. They are unable to share the study with others, and cannot delete the study.
Owner: Grants complete access to the study. This option grants the user complete control over the study, including the ability to delete the study. They are also able to manage who the study is shared with.
4. Click the Share This Study button
A confirmation will appear, giving an overview of who will be invited to the study. Click Yes to send the email invitation. You can return to this interface to view the invitation status.
Tip
You can send an invitation to anyone. If the user does not have a Q Method Software account, they will be able to create one while accepting the invitation.
Viewing & Changing Access Levels
1. Select the Study
After logging into Q Method Software, click on the title of the study in the Study List interface. This brings you to the Study Dashboard and populates the study's sub-navigation.
2. Go to the Study Sharing section
On the study sub-navigation menu, click Study Sharing to go to the Study Sharing management interface.

3. Select a new Access Level
Select a new Access Level for the user in the drop down. A confirmation window will appear, click Yes to finalize the change.
Revoking Access to a Study
1. Select the Study
After logging into Q Method Software, click on the title of the study in the Study List interface. This brings you to the Study Dashboard and populates the study's sub-navigation.
2. Go to the Study Sharing section
On the study sub-navigation menu, click Study Sharing to go to the Study Sharing management interface.

3. Click the Remove Access button
After clicking this button, a confirmation window will appear. Clicking Yes will remove the user from the study.
Accepting Access to a Study
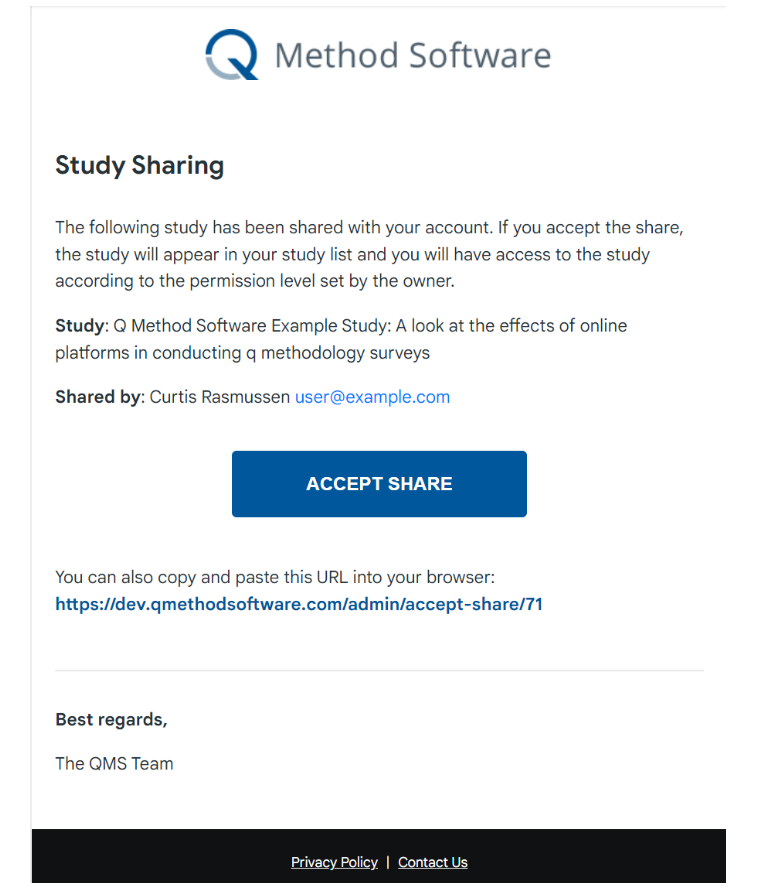
1. Click the link in the invitation sent to your email address
After opening the email, click the Accept Share button to be taken to the Q Method Software website.
2. Log-in or create an account
In order to access the study, you’ll need a Q Method Software account. You can create one during the acceptance process.
3. Accept access to the study
Click the Accept Share button to be granted access to the study. It will appear on your Study List afterwards.
Accessing a Shared Study
1. From the Study List, select the study
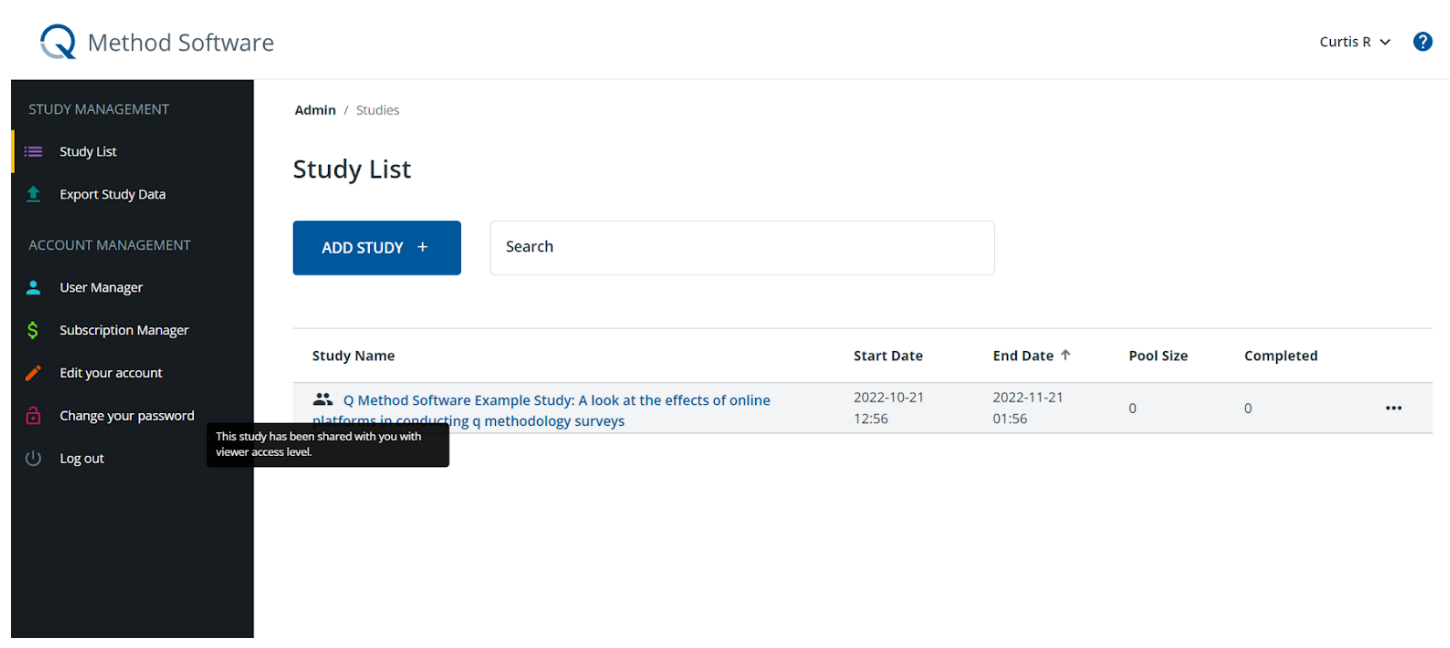
On the Study List, studies that have been shared with you will have a Shared Study icon in front of the study name. Accessing the study is as simple as clicking on the name.
Tip
Mousing over the Shared Study icon will tell you your access level in the study.
Removing yourself from a Shared Study
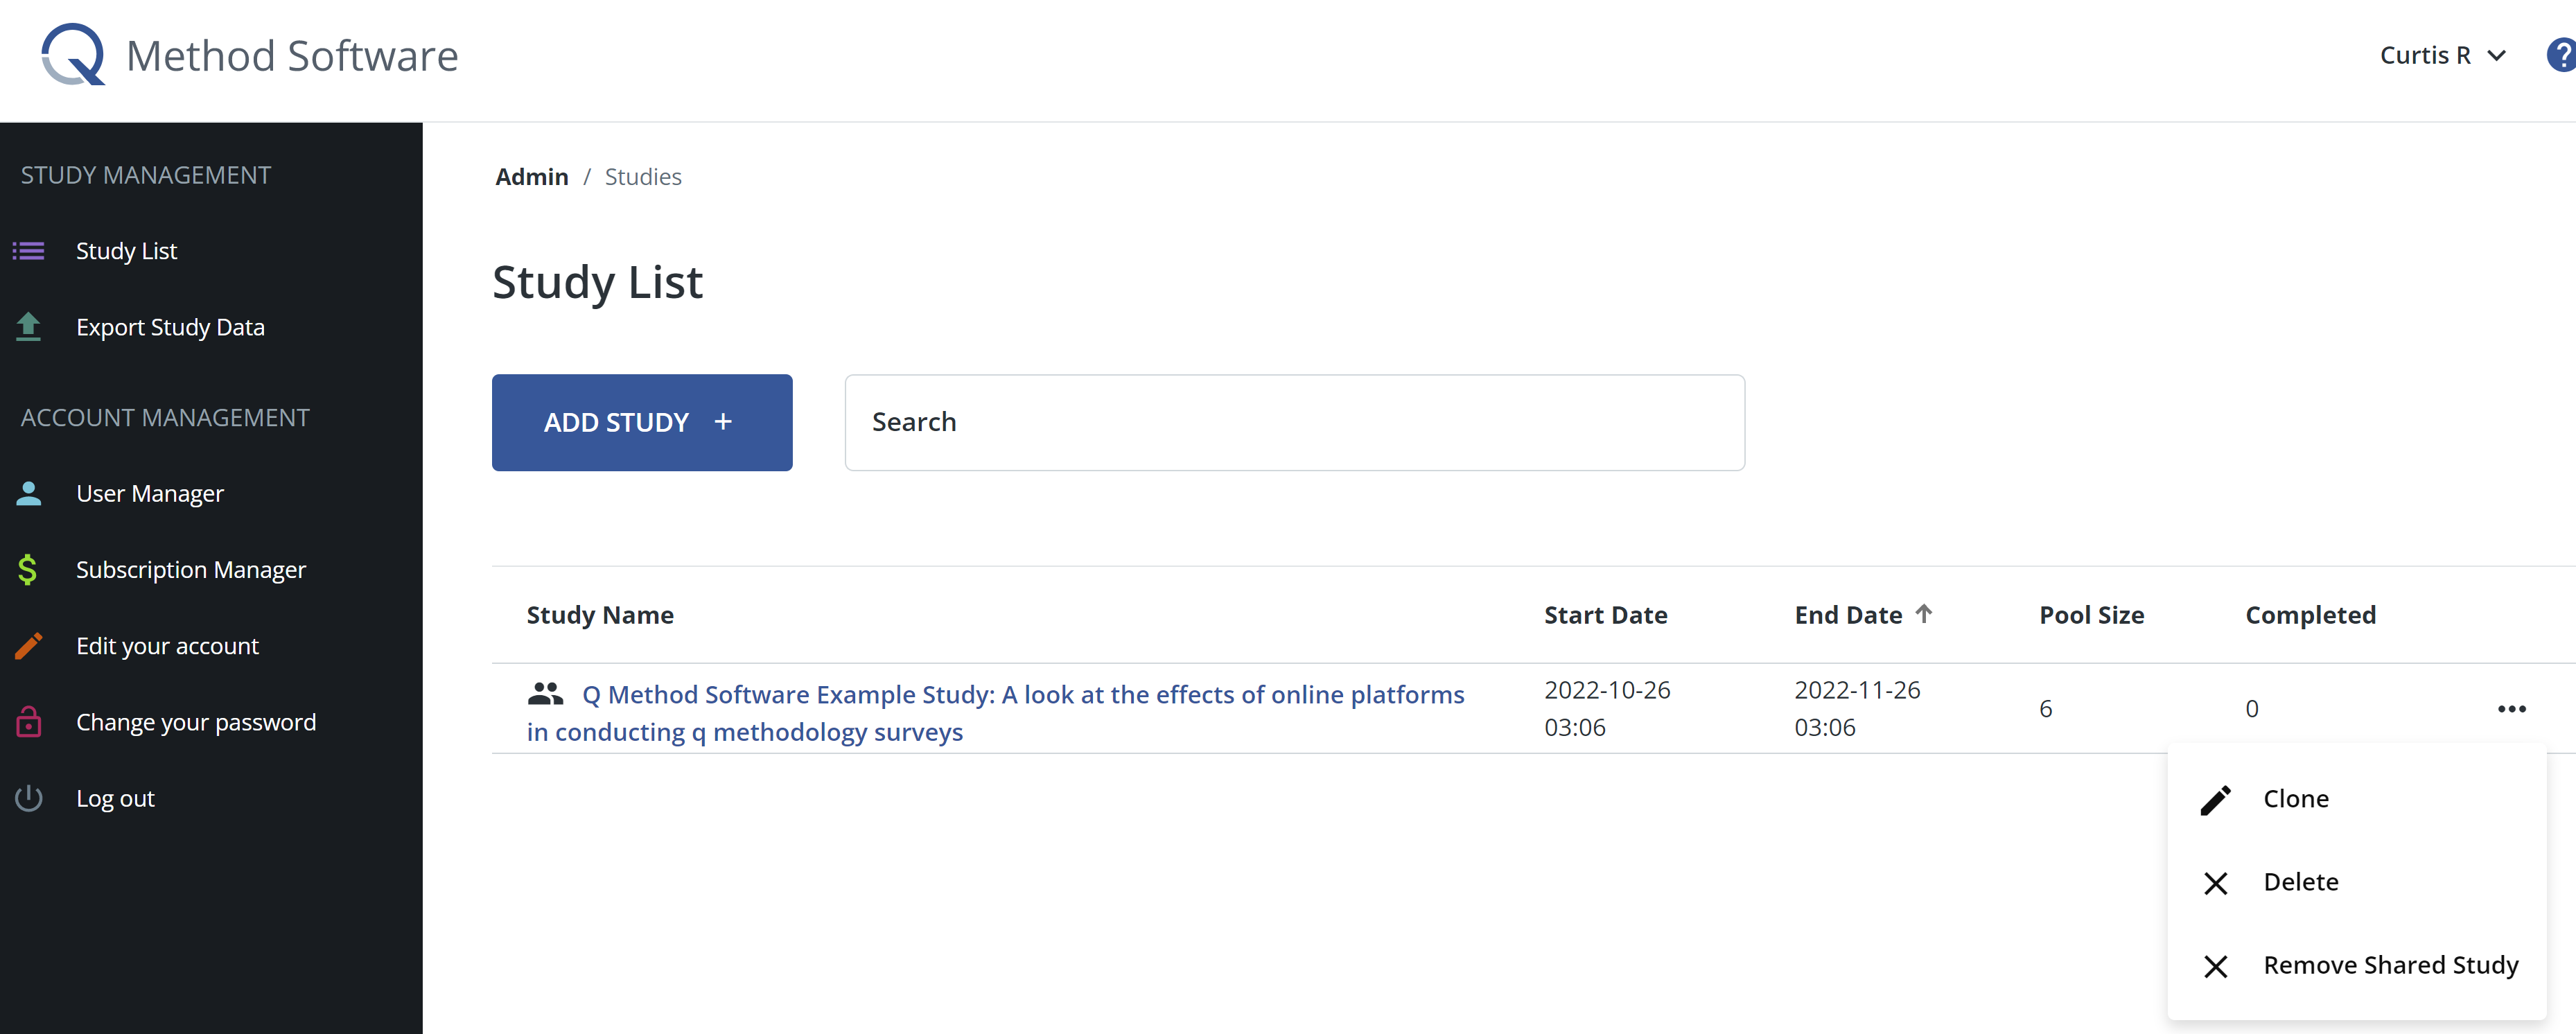
1. From the Study List, click on the Menu button
Select the Remove Shared Study button from the menu. A confirmation window will appear. After clicking Yes, you will be removed from the study, and will no longer have access to it.